A few simple post production tips to make live streams more professional. This tip is how to change the thumbnail (still image) that appears in YouTube search results.
Log in to YouTube and go to YouTube’s Creator Studio
- First, sign in to www.youtube.com,
then at the top right of your screen, click your account icon to display your account dialog box. - Then, click the “Creator Studio” button.
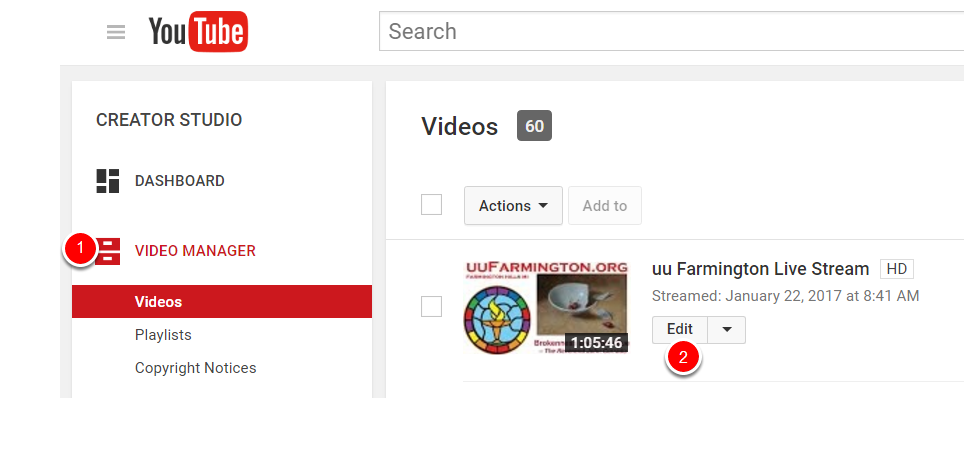
Select Video Manager > Edit > Info & Settings
- Select Video Manager, in the leftmost column.
- Click the “Edit” button near the video you wish to edit.
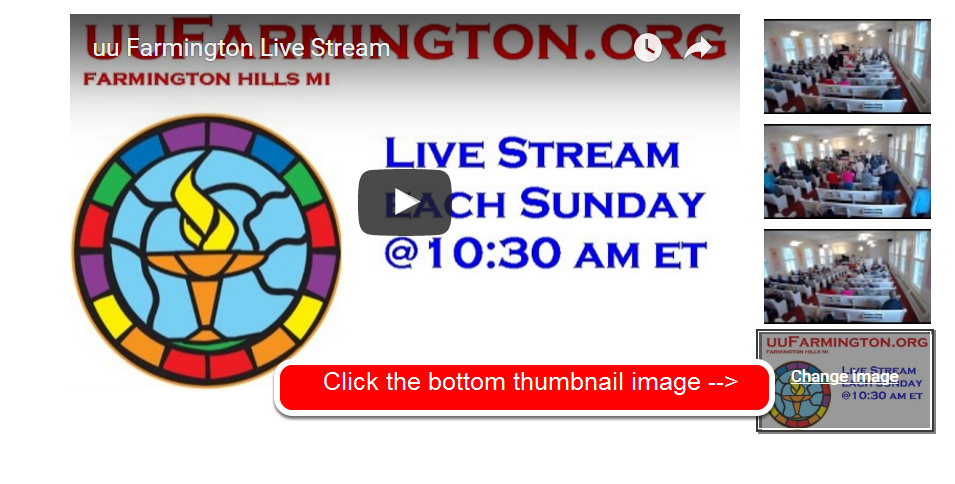
Roll your cursor over the bottom thumbnail and click “Change Image”
A “change image” link will appear when you roll your cursor over the bottom image. Click the link when it appears.
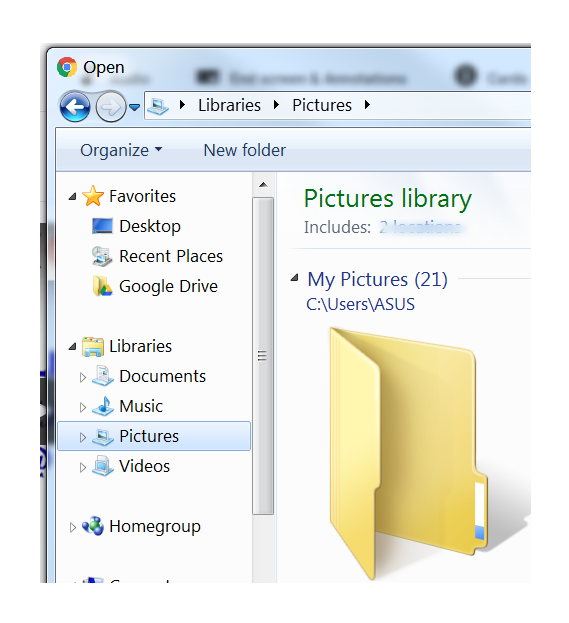
Choose the new custom thumbnail image file from your computer
- Select the image file from your computer that will become the new thumbnail image
- Recommended Image Size: 1280×720
- Your custom thumbnail image should be as large as possible, as the image will also be used as the preview image in the embedded player. YouTube recommends that your custom thumbnails: Have a resolution of 1280×720 (with minimum width of 640 pixels). Be uploaded in image formats such as .JPG, .GIF, .BMP, or .PNG.
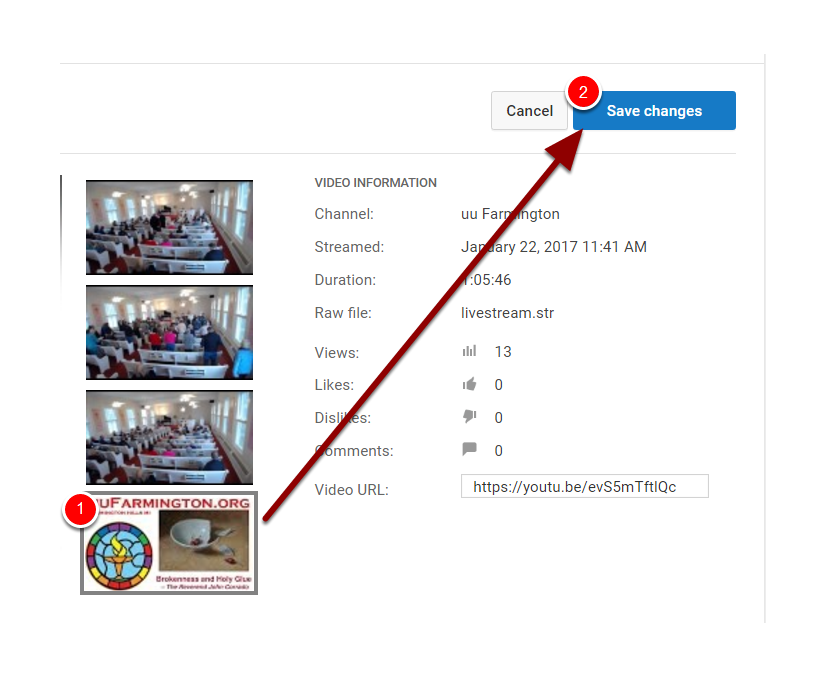
Save changes
- Confirm that your custom thumbnail image appears in the bottom spot
- Click “Save Changes”